We all know that there is diversity in flower color, variety, shape, size, etc. The variation is made possible in plants via pollination. Pollen of one plant travels through a distance by various means to reach a female plant. So basically it is pollen which is playing a key role in plant propagation. Pollens are also of various shapes, sizes, and colors. In this article, we will study how you can prepare pollens for observing they’re fine details under a microscope by the acetolysis method.
Acetolysis:
It is a widely accepted method for pollen preparation and was introduced by Erdtman in 1952. In this process, pollens are treated with 9 parts of acetic acid and one part of sulfuric acid.
Purpose:
Acetolysis is also known as acid treatment which is used to dissolve internal organic matter. It will dissolve organic matter except, the sporopollenin material which is present in its outer wall, exine. Also, the treatment will expand the pollen size at best so that you can point out its fine details under a microscope.
Steps for the pollen preparation:
There are various methods that researchers use for the preparation of pollen such as Fischer’s method, Wodehouse’s method, Erdtman’s method, or Nair’s method of pollen preparation. The acetolysis method was proposed by Nair.
Material required:
- Centrifuge tubes
- Petri plate
- Glass slides
- Cover slip
- Forceps
- Glass rod
- Microscope
- Tissue paper
- Glass vials
- Paper tape
- Permanent marker
Chemicals required:
- Glacial acetic acid
- Distilled water
- Hydrogen sulfuric acid
- Ethanol
Pollen collection:
Pollen lies within the anther. It is a powdery material that is very rare to be visible to the naked eye. So for the collection of fresh pollen from the field, you have to perform fieldwork in flowering season. The fresh pollens are unable to survive if not preserved at the time of collection. You can store it in glacial acidic acid or 70% alcohol. Due to the pungent smell of the acid, it is most favorable to store it in alcohol.

Put 5ml of the alcohol in glass vials. Now take anther of the flower and directly put it into the vial. If the size of the flower is very small and during collection, you find it difficult to separate anther from the flower, you can put the whole flower into alcohol and separate anther during lab work. These pollens are preserved and you can keep them stored as long as you want. Always remember that you have to label the glass vials during the collection with any alphabet or numerical so that you can recognize the pollen during plant identification. One of the plant twigs is also collected during field trips which were later preserved in the herbarium.
Grinding:
Use forceps for picking collected anther from alcohol so that you may avoid pollen wastage. Fill centrifuge tube with 5ml of the Acetic acid and put anther in it. Now you have to grind the material. The grinding should not be very fine because it will even damage your pollens or they may rupture. You will grind it lightly so that pollen material gets dissolved into acid and the pollen structure is retained.
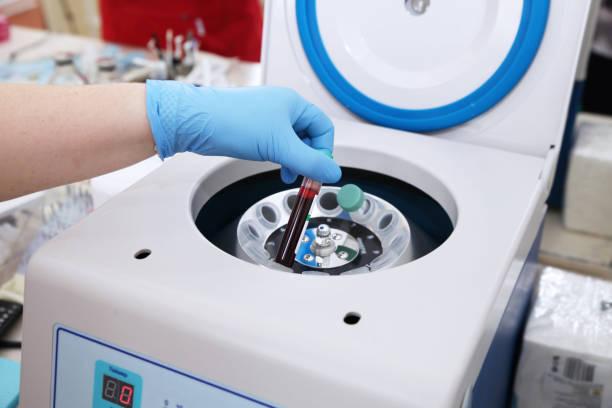
Centrifuge:
Put those labeled centrifuge tubes in an opposite alignment into the centrifuge machine. Set it at 2000rpm for 20 minutes and switch it on. It will rotate the mixture in a way that the very fine and small particles will settle down and the larger-sized material will come up.
Boiling:
After 20 minutes take the tube out of the machine keenly. Make sure that you should not disturb the pallet. Discard the extra acid out of the tubes and keep the pallet below. Put 5ml H2SO4 into the tubes and keep the level of the tubes alike. Take a beaker filled with water and put it on a hot plate for boiling. When water starts boiling, put these tubes into it and boil for 1 minute. You can also use the water bath for the same purpose.
Centrifuge:
Cool down the mixture after boiling and again put it into a centrifuge so that fine particles can settle down further. Again centrifuge it for 20 minutes at 2000 rpm. After that discard the extra material and keep the pallet below.
Sieving:
The pollen grains have settled down well and now you will wash them with the distilled water. Also, there are many big-sized particles that are of no use for you because they will not show fined details during microscopy. For this purpose, you will sieve the material with the help of a sieve. The large particles will come up and small-sized particles which are pollens will cross the sieve to settle into the beaker. Wash it with 2ml of distilled water and again sieve it. Then again wash it with 1ml of distilled water. For the third time, again use 1ml of the distilled water. In the end, you will have a 5ml mixture in the beaker below.
Slide preparation:
With the help of the dropper take a small drop from the mixture and put it on the slide. Cover slide with the coverslip. Make sure that there should not be any bubbles in it. For this purpose press the coverslip with your thumb gently. You can also use stain for staining but it is favorable to avoid staining because it may cause distortion during observation under the microscope.
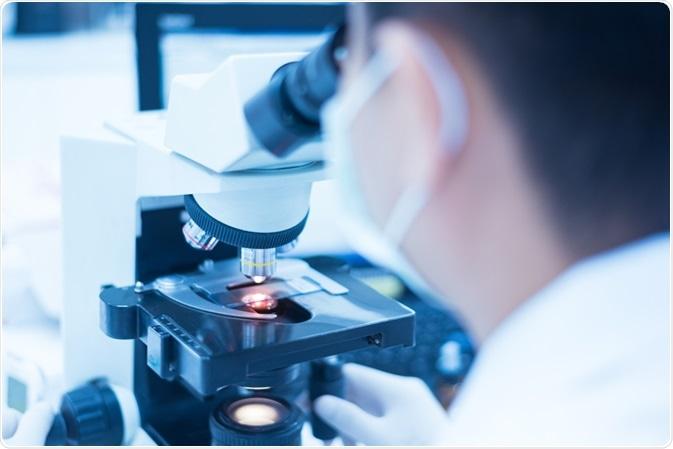
Microscopy:
You can observe the slide under a scanning or electron microscope. If you are observing it under SM, you need to clean the eyepiece or objectives first with the help of tissue paper. Keep the slide under the objective lens gently so that the coverslip is not disturbed. You will observe it under various resolutions.
Observing resolution vise:
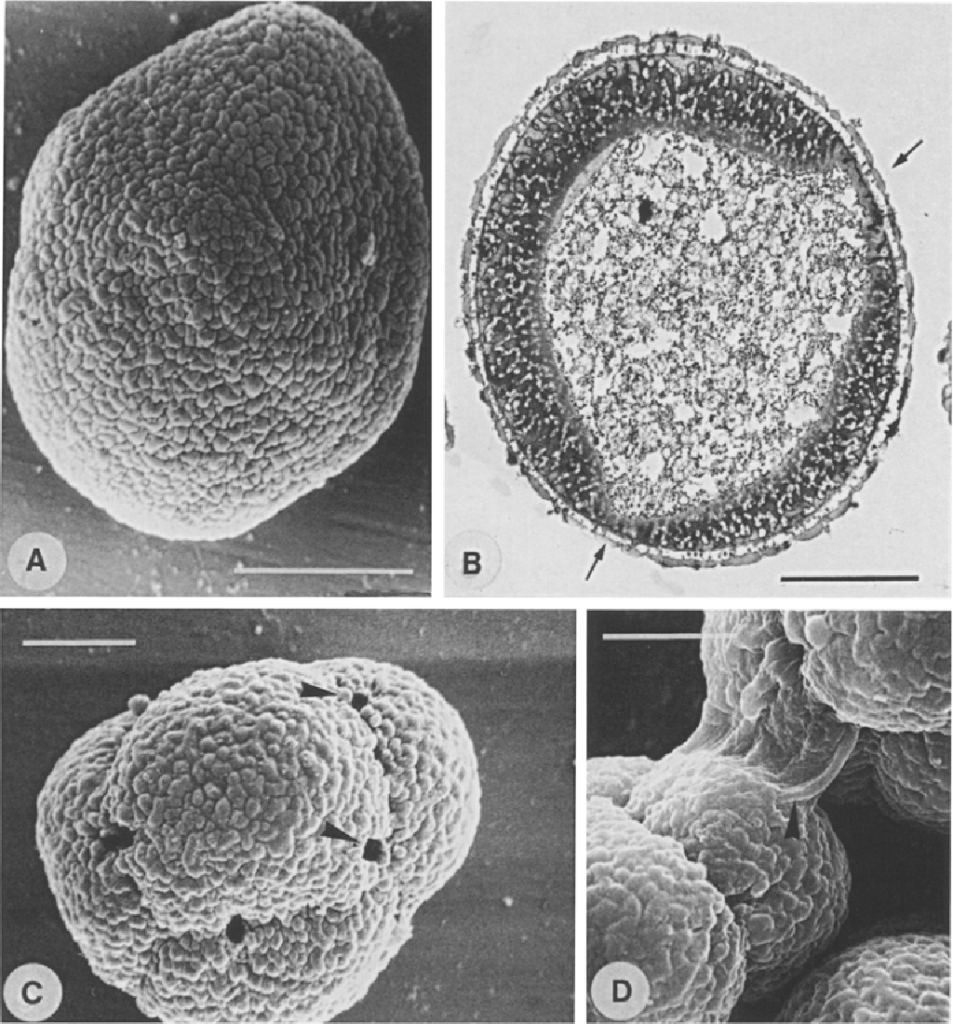
First, you need to observe it under the red lens. It is the minimum resolution and used for observing whether there are pollens in your slide or not? There will be some of the debris which you need to know for pollen identification. The pollens are distinct structures that you can spot easily depending upon their shape, size, and wall structure. Also, these are prominent cellular structures for making distinctions.
If in rare cases there are no pollens in your slide then you will have to make another slide. After spotting pollen, focus on that particular point and change your lens from red to yellow. It is slightly more in resolution and pollen will appear more prominent with its wall. You can take some of the photographs. Now for the highest resolution and fine details switch your lens from yellow to blue. You will observe many fine details at that point. There is a prominent exine wall.
Conclusion:
Pollens are the fine powdery material that lies within the anther. It travels over long distances to reach the female plant for fertilization. We had a detailed account that how you can prepare a slide for pointing to the fine details of the pollens while observing it under a microscope. You should not stain the pollen with any pigment because it will conceal some of the details. During microscopy, you will observe it under the red, yellow, and blue lenses. The blue lens will show much finer details. Due to acid treatment, the pollen colors may become brown. Sometimes it is not suitable for micrometry because acetolysis will make pollens expand. It will increase its size and you remain unable to take its exact measurements.